Did you know that with 83 ranked Shopify developers in Austin companies, finding the right partner for your startup’s eCommerce journey can be challenging? Basic online stores aren’t enough to succeed in today’s competitive digital marketplace. You must provide outstanding user experiences that set your brand apart from competitors.
Shopify has become one of the most popular platforms for creating online stores, particularly for startups establishing their first eCommerce presence. When you hire Shopify developer Austin, TX, experts, you gain access to professionals who can create customized digital strategies for your business needs.
Additionally, local agencies offer comprehensive services beyond basic development, including store strategy creation and content migration. The Shopify Austin office has fostered a community of developers who understand both the platform and the local business environment. Furthermore, while the average hourly rate for these services ranges from $50 to $185, the return on investment can be substantial, as proven by companies like Trango Tech, which has delivered over 200 innovative software solutions.
This guide will walk you through 10 essential steps to successfully launch your startup on Shopify, from validating your business idea to promoting your store and tracking performance.
Step 1: Validate Your Business Idea Before Shopify Setup

Before spending time and money on your Shopify store, investing in proper business validation can save you from potential failure. Research shows that 35% of small businesses fail because they lack product-market fit. Valuing your business idea gives you a valuable understanding of customer needs, market demand, and potential obstacles.
(i) Define your niche and target audience.
Entering a competitive market without a clear niche is a recipe for struggle. Rather than competing directly with established brands, specializing in a specific market segment gives your startup a significant advantage from day one. Start by thoroughly understanding what other online retailers offer in your product category or to particular audiences.
To find your niche market:
- Create a mind map to analyze different paths within your niche visually
- Use Google Trends to confirm steady or growing search interest
- Conduct keyword research to discover long-tail options
- Identify your total addressable market (TAM) to confirm it’s large enough
Your target market underpins everything from your product development to marketing campaigns. To create a minimum achievable target market, ask yourself: Who will benefit most from your product? Who will be using it? Why do they need it? What makes your product different from competitors’ products?
(ii) Analyze competitors using Shopify stores.
A competitive analysis helps you understand what other businesses in your niche are doing successfully. Accordingly, you can find possibilities to stand out. When studying Shopify competitors, categorize them as direct competitors (selling similar products to similar audiences), indirect competitors (offering high or low-end versions to different audiences), or tertiary competitors (marketing to your audience but selling different products).
Tools like Ahrefs and SEMrush allow you to perform competitor analysis and keyword research. These platforms will enable you to find competitors’ best-selling items, pricing strategies, and marketing techniques. Analyzing their website features, customer experience, marketing content, and social media presence provides an understanding of what works in your market.
A local Shopify developer Austin expert, can help you gain a more in-depth competitive understanding of your target market. They understand both the platform capabilities and regional business environments.
Validate demand with pre-launch surveys.
Market validation is a method to decide how your product concept might perform among your target demographic. Before fully committing resources, test your idea with potential customers through surveys, interviews, or focus groups.
For effective validation:
- Create anonymous surveys using Google Forms or SurveyMonkey
- Host focus groups with 8-10 people who match your target demographic
- Run a small test launch with dropshipping products
- Gather feedback from early customers or send samples to influencers
Pre-launch surveys help collect qualitative and quantitative data about potential customers’ attitudes, beliefs, and pain points. Therefore, you can determine if your product fills a gap in the market or solves a genuine problem before investing in your full Shopify setup.
If you need help implementing these confirmation strategies, consider working with a Shopify developer app specialist or contacting the Shopify Austin office for local resources and connections. Their expertise can streamline your validation process and help you avoid common pitfalls.
Step 2: Choose the Right Shopify Plan for Your Startup
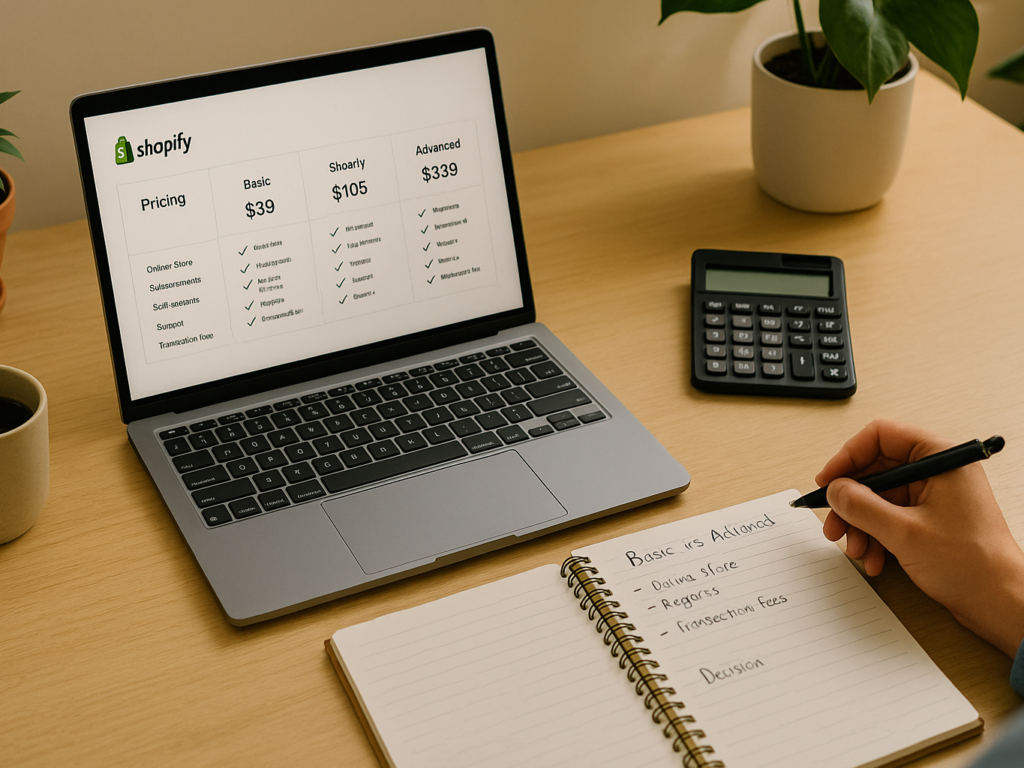
Selecting the appropriate Shopify plan is a critical decision that directly impacts your startup’s profitability and growth potential. Each plan offers distinct features and pricing structures tailored to different business needs.
(i) Shopify Basic vs Shopify Starter: Key differences
The Shopify Starter plan costs $5 per month, making it significantly more affordable than Basic, which costs $39 per monthly. However, this price difference comes with substantial feature variations.
Shopify Starter is designed to sell through social media platforms and messaging apps with a simplified online store. In contrast, Shopify Basic provides a full-featured online store with greater customization options.
The transaction fee structure also differs considerably between plans:
- Starter: 5% transaction fee
- Basic: 2.9% + 30¢ for online credit card payments and 2% for third-party payment gateways
Specifically, Starter lacks several crucial features that Basic includes:
- Custom domain support
- Ability to create discount codes
- Access to Shopify’s app store
- Staff accounts (Basic allows up to 2)
- Product collections functionality
For startups primarily focused on social selling, Starter might be sufficient initially. However, as your business develops, a local Shopify developer partner can help determine when upgrading becomes beneficial based on your transaction volume and feature needs.
(ii) When to upgrade to Shopify Plus
Shopify Plus starts at $2,300 per month on a 3-year term or $2,500 for a 1-year term, representing a significant investment. This enterprise-level solution becomes cost-effective when your business reaches certain thresholds.
Most brands upgrade to Shopify Plus when online sales reach approximately $80,000 per month, although individual needs vary. From a pure transaction fee perspective, the financial breakeven point occurs around $8.2 million in annual revenue compared to Advanced Shopify.
The Shopify Austin office can guide you on whether Plus makes sense for your business based on the following:
- Need for advanced checkout customization
- International expansion requirements
- Wholesale/B2B capabilities
- Demand for priority support
Consider upgrading when the enhanced features justify the increased monthly cost. A Shopify developer app specialist can help analyze if your growth trajectory warrants this investment.
(iii) Billing cycle and cost considerations
Shopify offers flexible billing cycles that impact your overall costs. You can choose between:
- 30-day billing cycles (monthly)
- Annual billing (with discounts)
Opting for annual billing provides approximately 25% savings compared to monthly payments. However, this requires committing to a longer-term upfront.
Your billing cycle determines when you receive bills from Shopify, although you cannot select a specific date. Bills are issued using the UTC zone so that you receive two monthly bills within 31 days on a monthly plan.
Additionally, understand that Shopify implements billing thresholds and monetary values that trigger a new bill when your account activity exceeds that amount. These thresholds typically include third-party transaction fees and recurring app charges.
For startups with limited capital, consulting with Shopify developer Austin, TX, experts can help optimize your plan selection and billing approach to minimize unnecessary expenses while maximizing platform capabilities as you grow.
Step 3: Register Your Domain and Set Up a Shopify Store
After selecting your Shopify plan, establishing your online presence begins with securing a professional domain name. Every new Shopify store automatically receives a free myshopify.com URL. Yet, a custom domain creates a more professional impression for your business.
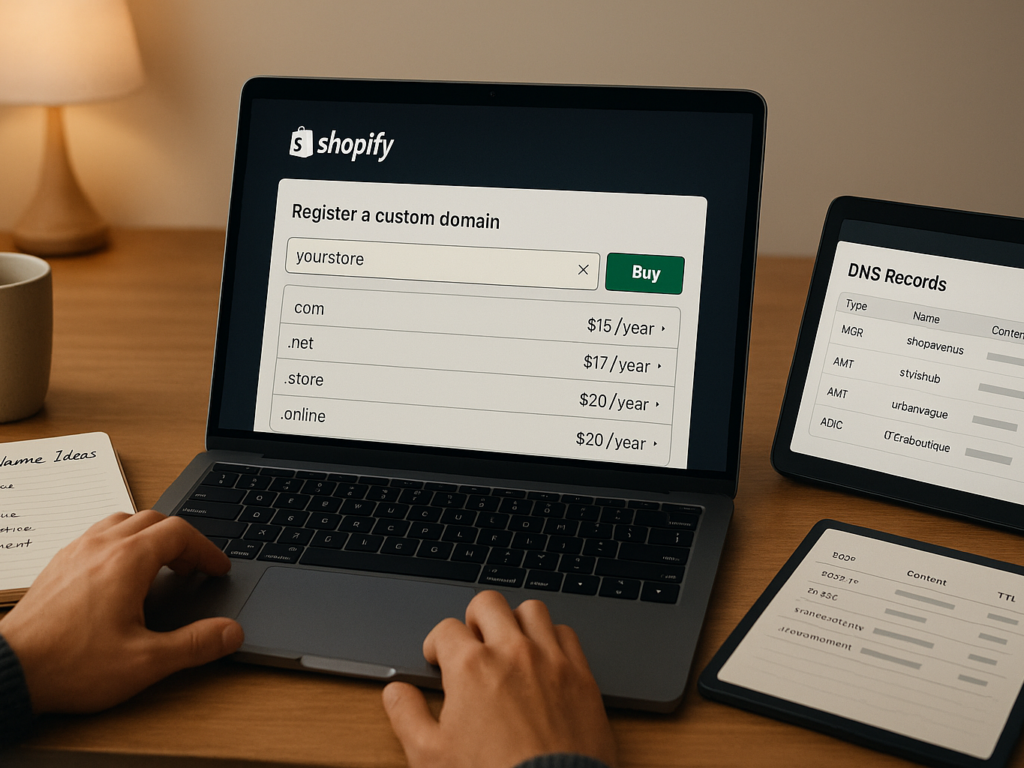
(i) Using Shopify’s domain registration tool
Shopify offers an integrated domain registration service that simplifies the setup process for new store owners. First, purchasing through Shopify means your domain settings, payments, and renewals are managed directly from your admin dashboard.
To buy a domain through Shopify:
- Navigate to Settings, then Domains in your Shopify admin.
- Click Buy a new domain.
- Enter your preferred domain name.
- Select your extension (.com, .store, etc.)
- Complete the purchase and verify your email.
Domains purchased through Shopify are automatically configured as your primary web address, eliminating the need for technical DNS configuration. For startups without technical expertise, working with a Shopify developer, Austin, can streamline this process and ensure proper implementation.
(ii) Connecting third-party domains to Shopify
Since many businesses already own domains through external providers like GoDaddy or Google Domains, Shopify allows seamless connection of these existing domains. To connect a third-party domain:
- Log in to your domain provider account
- Update your DNS records:
- Set the A record to point to Shopify’s IP address 23.227.38.65
- Change the CNAME record with the name “www” to point to shops.myshopify.com
- Delete any conflicting A records
After updating DNS records, connect the domain in Shopify:
- Go to Settings, then Domains in your Shopify admin
- Click Connect existing domain
- Enter your domain name and click Next
- Verify the connection
It is essential to realize that DNS changes may take up to 48 hours to propagate fully. During this time, your domain might not immediately show as connected. The Shopify Austin office can assist if you encounter persistent connection issues.
(iii) Setting up store preferences and legal pages
Once your domain is connected, configuring your store preferences establishes the foundation for customer experience. You can access these settings through the Preferences section in your Shopify admin dashboard.
Key store preferences to configure include:
- Store details: Name, contact information, and timezone
- Store currency: Your primary currency for displaying prices
- Standards and formats: Number formatting, dates, and units of measurement
- Checkout settings: Guest checkout options and order processing workflows
In addition, legal pages are essential for compliance and building customer trust. Navigate to Settings, then Legal to create:
- Privacy policy
- Terms of service
- Refund policy
- Shipping Policy
With this in mind, Shopify provides templates for these legal documents that you can customize to your business needs. Nevertheless, for startups with specific legal requirements, consider consulting with a Shopify Austin, TX, expert who understands platform capabilities and regional compliance regulations.
By properly registering your domain and configuring essential store settings, you will create a professional foundation for your Shopify startup before proceeding to the design and product setup phases.
Step 4: Design Your Store with a Conversion-Focused Theme

The visual appeal of your Shopify store significantly impacts conversion rates and customer trust. Beyond aesthetics, your theme choice affects functionality, user experience, and, ultimately, your business success.
(i) Free vs paid Shopify themes: What to choose
Shopify offers free and paid themes, each with distinct advantages for startups. Free themes cost nothing upfront and provide clean, fast-loading designs developed by Shopify. They’re ideal for new sellers with limited budgets or businesses in testing phases.
Paid themes range from USD 180.00 to USD 350.00 and offer several advantages:
- More extensive customization options
- Built-in advanced features (mega menus, product filtering)
- Unique designs that help your store stand out
At this point, consider your specific business needs. A free theme might suffice if you sell a single product or have a simple product range. Conversely, businesses with extensive merchandise or multiple collections often benefit from paid themes’ enhanced functionality.
Regardless of your choice, a local Shopify developer partner can help optimize whichever theme you select for your target market and business goals.
(ii) Customizing themes using Shopify Theme Editor
Once you’ve selected a theme, Shopify’s Theme Editor allows extensive customization without coding knowledge. To access it, navigate to Online Store, then Themes in your Shopify admin, click Customize next to your theme.
The Theme Editor interface consists of three main components:
- Menu bar: Contains tools to navigate templates, adjust the screen size and display, and manage customization actions
- Sidebar menu: Displays a tree view of all content for the template you’re viewing
- Preview window: Shows your theme and updates automatically as you make changes
Customization should begin with global theme settings affecting colors, typography, and styles. Subsequently, you can customize individual sections like headers, footers, and product pages by clicking on them in the preview window or sidebar.
The Shopify Austin office offers workshops to help startups master the Theme Editor’s capabilities for maximum design impact.
(iii) Mobile responsiveness and UX best practices
Many e-commerce stores now receive more visitors from mobile devices than desktops. Mobile optimization is non-negotiable for conversion success.
All Shopify themes feature a responsive design that automatically adapts to create optimal experiences across devices. Nevertheless, you should:
- Preview your store on multiple screen sizes using the display options in the Theme Editor
- Ensure text remains readable on smaller screens
- Verify that buttons and navigation elements are easily tappable on mobile
Mobile payment options like Shop Pay, Apple Pay, and PayPal should be implemented to simplify the checkout process for an improved user experience. Remember that your homepage isn’t necessarily where users begin their journey; many visitors land directly on product pages through searches or advertisements.
Working with a hired Shopify developer in Austin, TX expert can help ensure your theme is fully optimized for all devices while maintaining your brand identity. The Shopify developer app marketplace also offers tools to enhance mobile responsiveness and user experience without compromising site speed.
Step 5: Add Products and Configure Inventory Settings
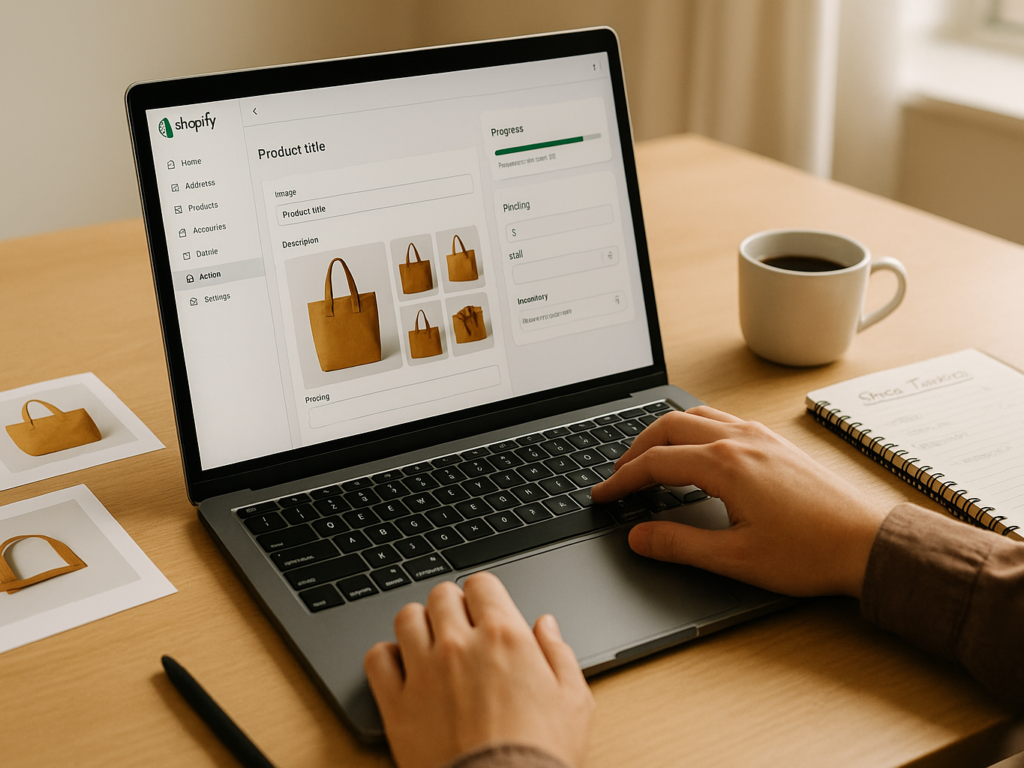
Properly configured product listings and inventory management form the backbone of any successful Shopify store. Once your store design is in place, you need to focus on adding products that customers can find and ensuring you never unexpectedly run out of stock.
(i) Creating product listings with SEO in mind
Optimizing your product pages for search engines starts with strategic keyword placement. According to studies, the first position in search results captures 34.2% of clicks, while the second only manages 17.1%. To maximize visibility:
- Include primary keywords in product titles, keeping them under 60 characters
- Write unique product descriptions (150-300 words) that address customer pain points
- Optimize meta descriptions with compelling calls-to-action within 150-160 characters
Beyond text, product images play a crucial role in SEO. Adding descriptive alt text to your product photos helps search engines understand your content while making your store more accessible. A Shopify developer app specialist can help implement advanced SEO features like product schema markup, which displays ratings, review counts, and pricing directly in search results.
(ii) Setting up inventory tracking and stock alerts
Enabling inventory tracking in Shopify helps you avoid selling products that aren’t available. To activate this feature:
- Navigate to Admin, then Products
- Select the product you want to track
- Scroll to the Inventory section and check “Track quantity.”
- Enter the quantity information for each location
- Click Save
For products with variants, you’ll need to enable individual tracking for each variant. Additionally, consider setting up low-stock alerts to notify you before inventory reaches critical levels. These alerts save time by automating the monitoring process and ensuring your best-selling products remain available.
(iii) Using Shopify Collections for product grouping
Collections make it easier for customers to find products by category, serving as Shopify’s primary method of store navigation. According to research by Ablestar, 76% of e-commerce sites have mediocre to poor navigation, which directly impacts sales. Stores that improved their navigation saw conversions grow by 18.5%.
Shopify offers two collection types:
- Manual collections: Ideal for smaller, curated product groups where you select each item
- Smart collections: Automatically add products based on conditions like tags, price, or vendor
Notably, the Starter plan doesn’t support collections functionality. To create collections, you’ll need at least the Basic plan. A Shopify Austin, TX expert can help you design an effective collection structure matching your business needs.
For optimal collection organization, consider grouping products by customer segments (Men, Women, Kids), creating seasonal collections, or highlighting trending items. Well-organized collections improve customer experience and boost your SEO by targeting specific keywords on collection pages.
Step 6: Set Up Payment Gateways and Tax Rules
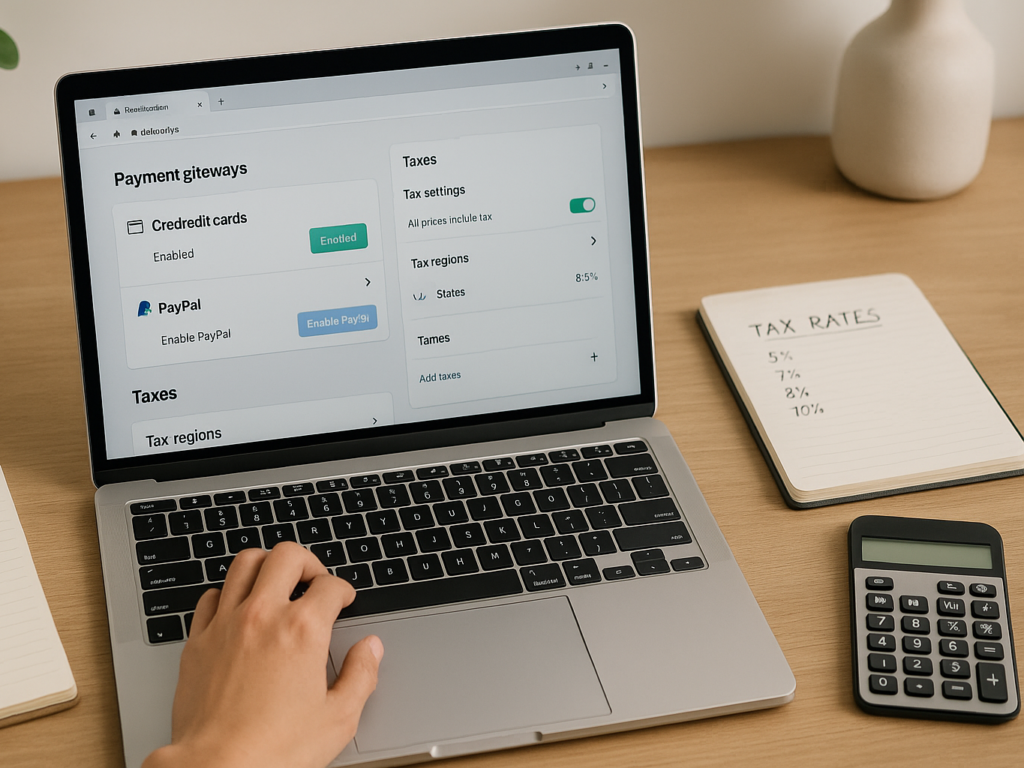
Reliable payment processing and accurate tax calculation are critical foundations for your Shopify store’s financial operations. Setting these up correctly ensures smooth transactions and proper compliance from day one.
(i) Enabling Shopify Payments and PayPal
When you create your Shopify store, a PayPal Express Checkout account is automatically generated using your sign-in email address. It offers immediate payment acceptance capabilities for your store. To gain full functionality, including manual payment captures and refund processing, you must complete the Setup:
- From your Shopify admin, navigate to Settings, then Payments
- In the Additional Payment Methods section, click Set up incomplete next to PayPal
- Click Complete Setup and enter your PayPal account credentials
- Follow the prompts to provide business information and verify your account
Generally, PayPal uses your shipping address information to fill billing fields during checkout. For businesses requiring separate billing information, consider consulting with a Shopify developer in Austin who can implement custom solutions.
(ii) Configuring tax settings by region
Before selling products, you must determine whether you need to charge sales tax in your regions of operation. Tax requirements vary by location and typically require registration with relevant tax authorities.
To configure tax settings after registration:
- Access Settings, then Taxes and duties in your Shopify admin
- Under Manage sales tax collection, click your country or region
- Select Collect sales tax and enter your tax number
- Optional: Configure advanced options for shipping taxes where applicable
Due to varying international regulations, some countries, like the UK, require tax inclusion in displayed prices. The Shopify Austin office can guide regional tax compliance, especially for startups selling across multiple jurisdictions.
(iii) Handling international currencies
For startups targeting global markets, currency management becomes essential. Simultaneously selling in multiple currencies requires proper configuration:
If your store uses Shopify Payments, you can sell in one currency while receiving payouts in another. For instance, a France-based store might set USD as the store currency while receiving payouts in EUR.
Alternatively, Advanced or Shopify Plus plans support multiple payout accounts (up to 8) in different currencies. This approach lets you avoid currency exchange fees when processing refunds or handling chargebacks.
After all, each supported currency must have a dedicated bank account. A hired Shopify developer in Austin, TX, an expert, can optimize your currency settings based on your primary markets and banking relationships, ensuring you minimize conversion fees while maximizing international sales potential.
Step 7: Install Essential Shopify Apps for Growth
The right combination of Shopify apps can dramatically enhance your store’s functionality without requiring extensive development resources. Unlike custom coding, apps offer plug-and-play solutions, accelerating your startup’s growth.
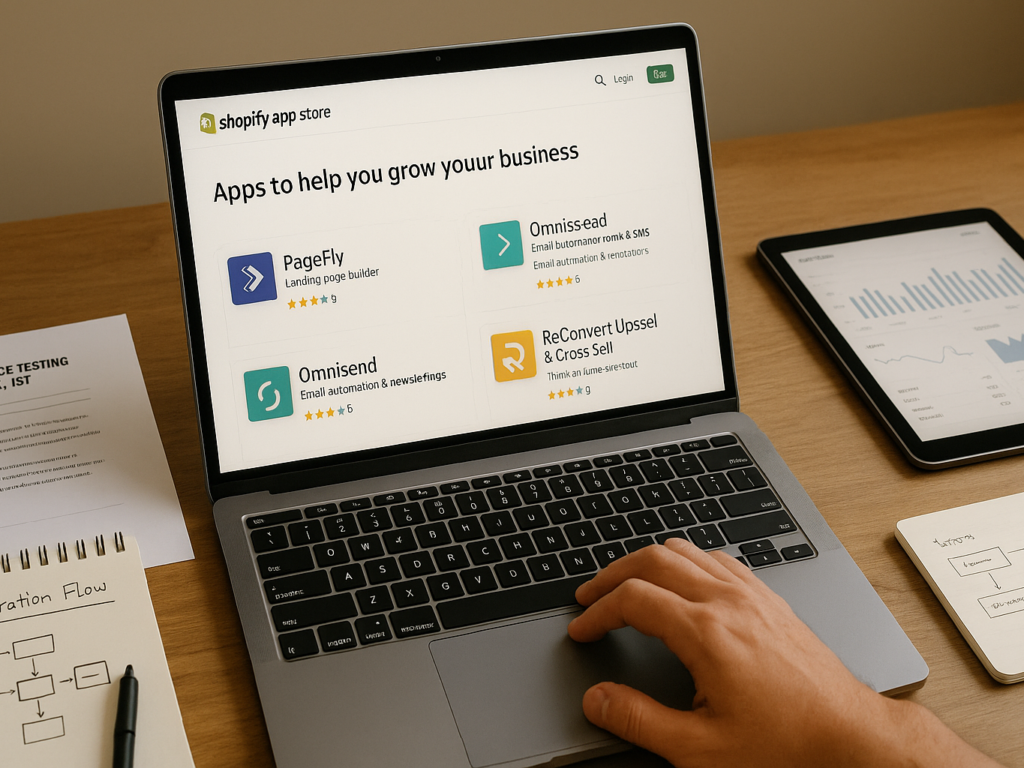
(i) Top 5 free Shopify apps for startups
Expanding your store’s capabilities doesn’t necessarily require a large budget. Indeed, several high-quality free apps can boost your operations immediately:
- PageFly: This landing page builder lets you create stunning product pages without coding. The free plan includes one page with extensive practical components and versioning capabilities to track changes over time.
- ReConvert Upsell & Cross Sell: Boost your average order value by displaying personalized product recommendations at checkout. The user-friendly interface makes implementation straightforward, even for beginners.
- Omnisend: This comprehensive email marketing platform allows you to send up to 500 emails and 60 SMSs to 250 contacts on the free plan. Eventually, you can upgrade as your subscriber list grows.
- Privy: An effective email marketing and conversion tool that helps capture leads and recover abandoned carts without upfront costs.
- Peek!: Record user sessions to gain valuable insights into how customers interact with your store, helping identify usability issues before they impact sales.
(ii) Using Shopify developer app integrations
Beyond standalone apps, integration capabilities often determine long-term value. When selecting apps, consider how they work together within your ecosystem. A local Shopify developer in Austin can help evaluate which integrations benefit your specific business model.
Some apps, like Zigpoll, offer seamless integration with email marketing platforms such as Klaviyo and Mailchimp, creating powerful automation workflows. Likewise, the Shopify Austin office can recommend developer-friendly apps that support custom modifications when standard features don’t meet your needs.
(iii) App performance and compatibility checks
App installation affects your store’s performance. To qualify for the Shopify App Store, an app must not reduce storefront Lighthouse performance scores by more than 10 points. Otherwise, slow-loading pages can significantly impact your conversion rates and search rankings.
Before adding multiple apps, consider the following:
- Testing one app at a time to isolate performance impacts
- Consulting with a Shopify Austin, TX specialist to evaluate the compatibility between apps
- Monitoring analytics after installation to identify any speed degradation
According to Shopify’s guidelines, apps that maintain good performance scores while meeting all mandatory Admin and checkout criteria become eligible for “Built for Shopify” status, which indicates superior quality. For complex requirements, hire Shopify developers in Austin, TX, experts who can develop custom integrations that maintain optimal site performance.
Step 8: Optimize for SEO and Launch-Ready Content
Search engine visibility determines whether potential customers can discover your Shopify store in a crowded marketplace. Optimizing your content properly creates pathways for organic traffic and higher conversion rates.
(i) Writing product descriptions with keywords
Strategic keyword implementation in product descriptions helps search engines understand your pages. Use reliable keyword research tools like SEMrush, KWFinder, or Moz Keyword Explorer to identify relevant search terms. These tools provide valuable data on:
- Search volume (monthly search frequency)
- Keyword difficulty (ranking challenge)
- Related terms and long-tail keywords
Focus primarily on long-tail keywords, which typically have higher commercial intent and lead to more sales despite lower search volumes. Place your focus keyword strategically:
- Once in the product URL
- Once in the description title
- Once or twice in the body text
- Once in the image, alt tags
Avoid keyword stuffing, especially in shorter descriptions (under 300 words). Instead, write naturally while incorporating relevant terms.
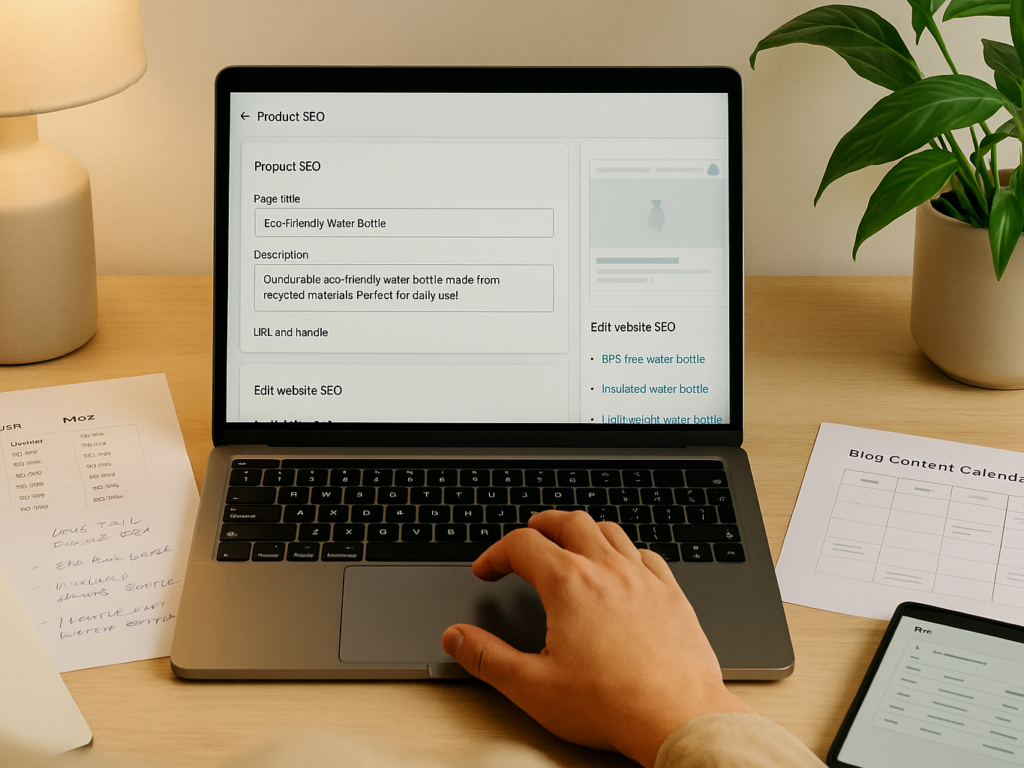
(ii) Setting up meta titles and alt tags
Meta titles should contain primary keywords under 60 characters to avoid truncation in search results. Meanwhile, meta descriptions should be compelling, include keywords, and remain within 150-160 characters.
For image optimization, add descriptive alt text that explains what’s shown while naturally incorporating keywords. For example, instead of “red dress,” use “Elegant red evening dress with lace detailing” to improve both SEO and accessibility. A Shopify developer Austin specialist, can implement technical SEO elements like structured data to enhance visibility further.
(iii) Creating a blog for organic traffic
Ultimately, your Shopify store’s blog can generate more traffic than product pages alone. Focus on middle-of-funnel content that increases both visibility and sales. A Shopify Austin, TX expert can help identify content gaps in your market.
To optimize blog posts, conduct keyword research for topics your audience searches for, then structure content with:
- Keyword-rich title tags and meta descriptions
- Central keyword placement early in the article
- Relevant images with proper alt text
- Internal links to relevant products
Above all, remember that quality content addressing real customer questions will outperform keyword-stuffed pages in search rankings and conversion rates.
Step 9: Test Your Store and Launch with Confidence
Testing your Shopify store thoroughly before launching helps prevent costly mistakes and ensures a smooth customer experience. Statistics show that 70% of customers abandon their carts during checkout, making proper testing crucial before your store goes public.
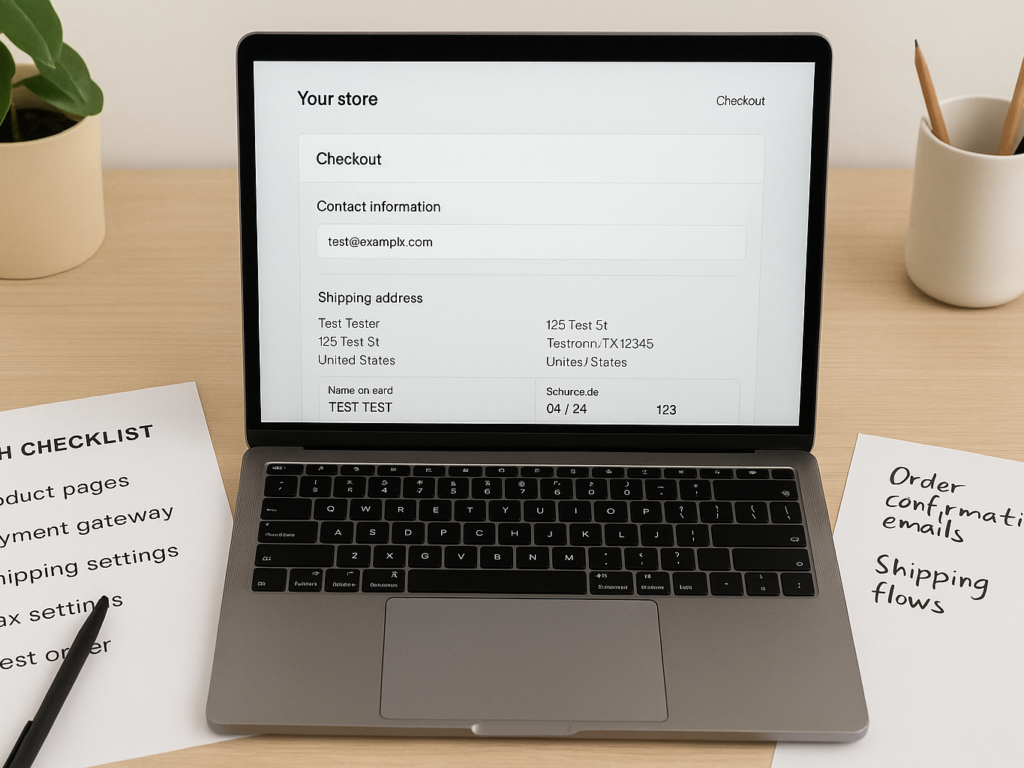
(i) Using Shopify’s preview and test order features
Shopify’s test mode allows you to simulate transactions without real charges or inventory impacts. To create a test order:
- Access your Shopify admin and enable test mode in payment settings
- Add products to your cart and proceed to checkout
- Use test payment credentials instead of real credit cards
- Complete the purchase to verify order notifications and processing
Remember that test orders won’t appear in your reports or affect inventory counts. A Shopify developer Austin partner, can help implement advanced testing scenarios like international purchases or discount code applications.
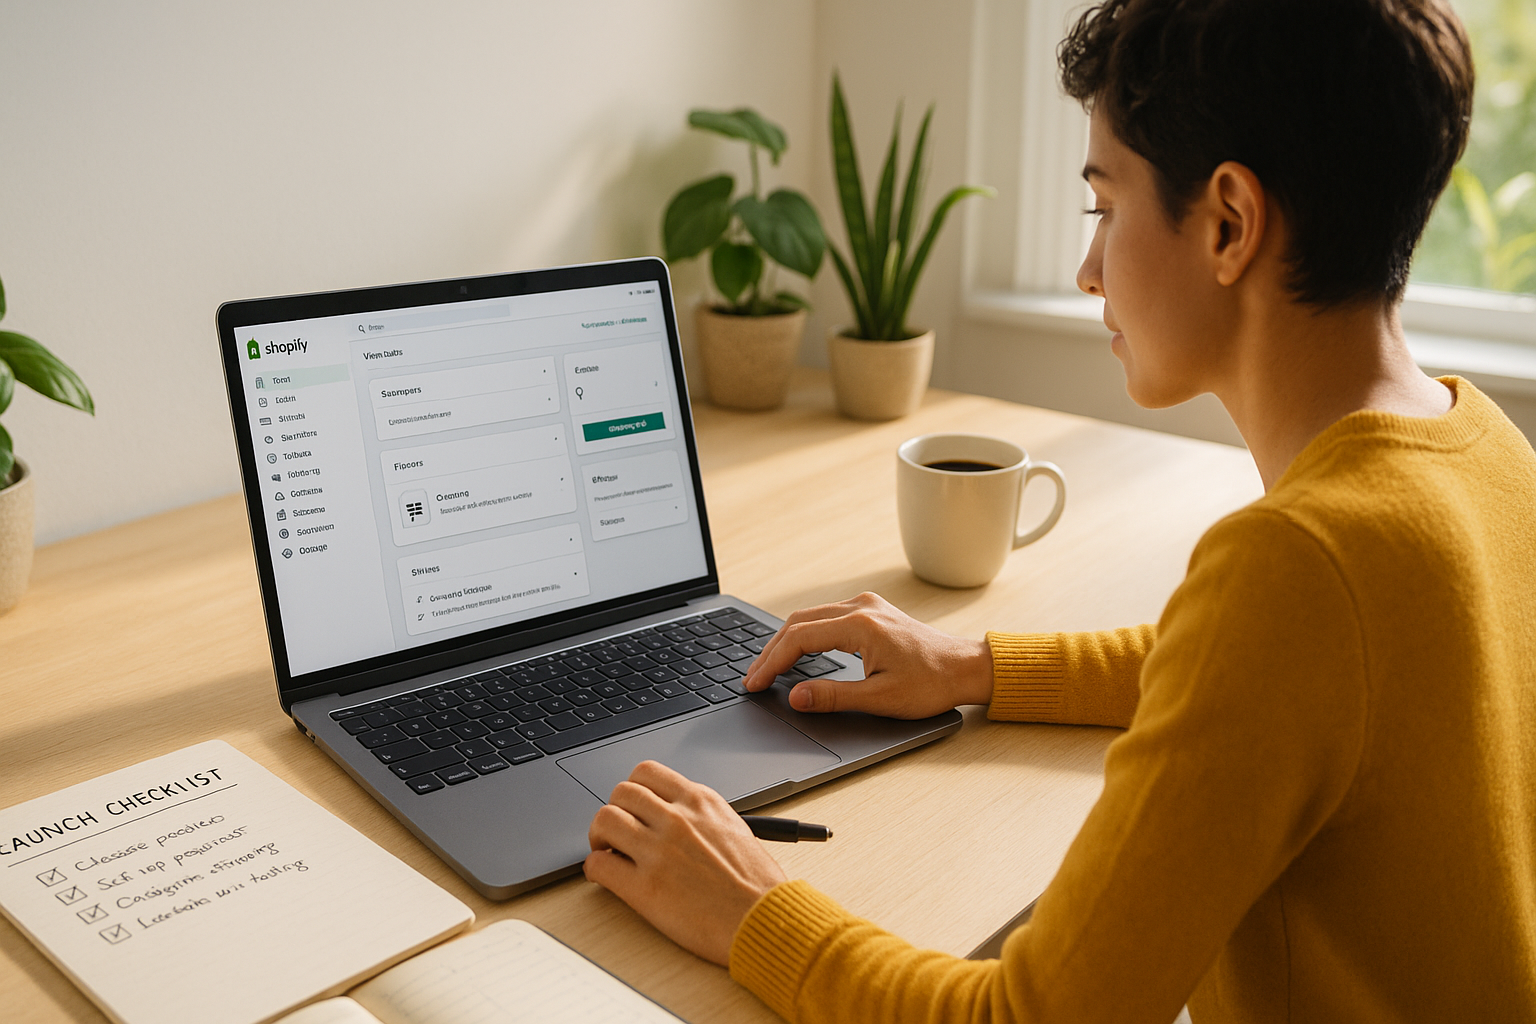
(ii) Checklist before going live
Create a comprehensive pre-launch verification list:
- Confirm that all payment gateways function correctly
- Test mobile responsiveness across different devices
- Verify that shipping rates display accurately at checkout
- Ensure order confirmation emails are sent properly
- Check that discount codes apply correctly
- Test contact forms and social media links
As experts note, 53% of visitors will abandon a website if it takes more than 3 seconds to load. Hence, tools like Google PageSpeed Insights can be used to assess performance before launch.
(iii) Soft launch vs complete launch strategy
A soft launch involves releasing your store to a limited audience first. It enables you to gather feedback and make improvements before wider exposure. Accordingly, this approach benefits startups with new products or limited marketing budgets.
In contrast, a hard launch represents a full-scale introduction with significant marketing efforts. This strategy works best for established brands or time-sensitive products.
The Shopify Austin office can provide guidance on which approach suits your business. Whichever strategy you choose, set a definite launch date to avoid losing momentum or entering a cycle where you continuously delay going live.
Next, evaluate post-launch analytics to track performance and make necessary adjustments. A Shopify Austin, TX specialist can help interpret this data to optimize your store’s conversion potential.
Step 10: Promote Your Store and Track Performance
After launching your Shopify store, effective promotion and performance tracking become your primary focus for sustainable growth. Your marketing strategy will determine whether potential customers can find your products in a competitive marketplace.
(i) Running Facebook and Google Ads
Google Ads offers access to 3.5 billion daily searches, making it an essential channel for Shopify stores. Similarly, Facebook’s massive user base of 2.8 billion active users can increase your customer base by 27%. To maximize these platforms:
For Google Ads:
- Focus on keyword research using Google’s Keyword Planner
- Consider “Performance Max” campaigns that leverage Google’s automation
- Track conversions properly by creating conversion actions and installing global site tags
To implement Facebook ads effectively, install the Meta Pixel on your Shopify store by accessing your Facebook Business Manager, navigating to Events Manager, and copying the pixel code to your Shopify preferences. This integration automatically tracks six different events plus purchase values.
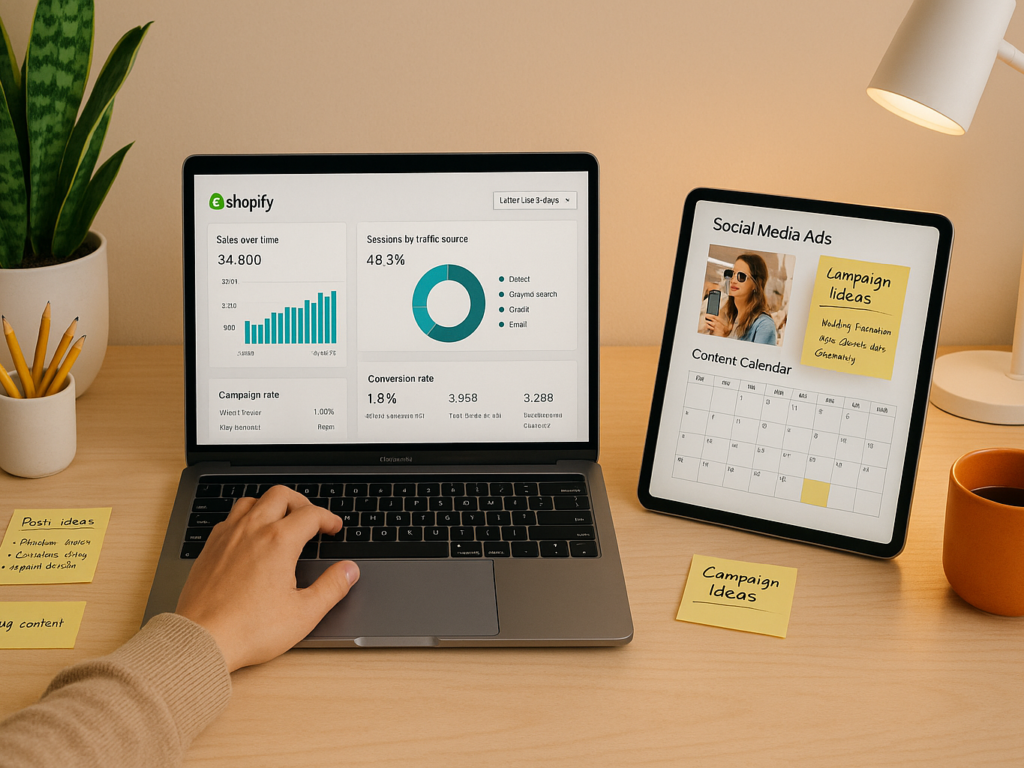
(ii) Using Shopify Analytics to Monitor KPIs
Your Shopify Analytics dashboard is your central data hub for tracking store performance. In data-driven organizations are 19 times more likely to be profitable, monitoring key metrics is crucial. Google Analytics provides comprehensive e-commerce tracking tools that help small businesses understand customer behavior and optimize their online stores for better performance.”
Essential KPIs to track include:
- Conversion rate: percentage of visitors completing purchases
- Customer acquisition cost (CAC): the total cost of acquiring a single customer
- Return on ad spend (ROAS): revenue attributable to advertising divided by ad spend
- Total and gross sales: clear indicators of revenue over time
The Shopify marketing dashboard highlights sales attributed to each channel, helping identify strengths and weaknesses between platforms. A Shopify developer Austin specialist, can implement custom reporting solutions for more complex analytics needs.
(iii) Email marketing tools for Shopify
Email marketing delivers an impressive 3,500% return on investment, outperforming both Google ads (700%) and social media (250%). Shopify Email allows you to send up to 10,000 emails monthly for free, with additional emails costing $1 per 1,000.
Effective email campaigns for Shopify stores include abandoned cart recovery, post-purchase follow-ups, and a welcome series for new subscribers. The Shopify Austin office can guide you through implementing advanced email automation workflows using native tools or third-party integrations like Omnisend or Klaviyo.
For complex promotional needs, hire Shopify developer Austin, TX, experts to create customized marketing solutions that integrate your advertising, analytics, and email strategies into a cohesive growth system.
Conclusion: Final Steps to Shopify Success
Launching a startup on Shopify requires intelligent planning and sharp execution. Validating your idea early prevents failure while choosing the right plan that suits your budget and goals. A professional domain builds trust, and conversion-focused themes improve user experience to boost sales. These foundations shape your store’s credibility and performance, primarily when supported by the right Shopify developer, an Austin expert.
Effective product management is key. SEO-optimized listings attract organic traffic, and inventory tracking avoids stockouts. Smooth payment gateways and proper tax setups ensure legal compliance and customer satisfaction. Adding essential apps boosts functionality, while SEO and blog content increase visibility, especially for startups with tight budgets needing cost-effective growth strategies.
Thorough testing before launch protects you from costly errors and cart abandonment. Use promotions on platforms like Facebook, Google, and email to drive traffic post-launch. Monitor analytics closely and adapt based on data and customer feedback. Shopify’s success is a journey. Consistent optimization, patience, and persistence help turn your idea into a thriving business.