Introduction
It’s your best friend’s birthday. You’re scrolling through your phone, digging out old memories to post on Instagram. But wait… the photos are too dark. Or maybe there’s that one guy photobombing in the background. Disaster, right? But what if I told you that with a few simple birthday images editing tricks, you can make those birthday pictures look like a professional photographer shot them?
That’s right. You can turn average shots into magical moments. And no, you don’t need to be some Photoshop guru to do it. Just a few handy tools and clever techniques can transform your pictures in no time.
Step 1: Picking the Right Tool for Birthday Images Editing
Choosing the right app is half the battle. There are tons of birthday image editing apps out there, but some stand out like a party hat in a library.
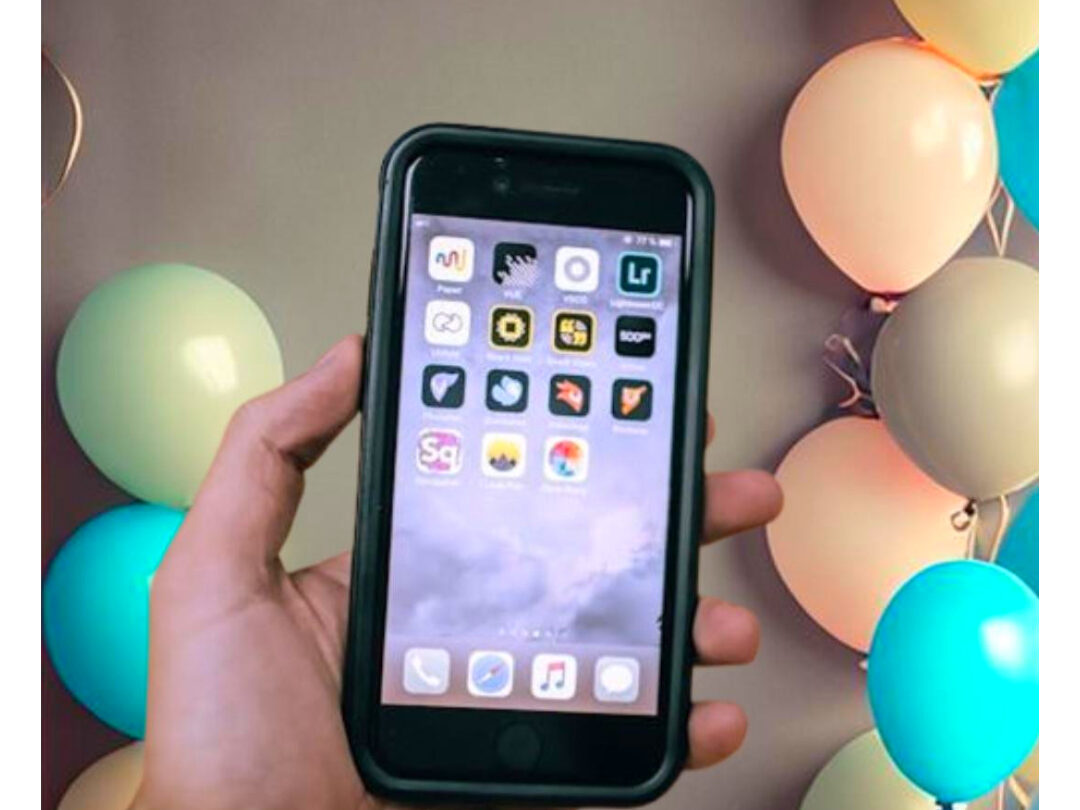
Top Picks for Birthday Image Editing Apps:
- Adobe Lightroom: Perfect for color correction. It’s like giving your photo a breath of fresh air.
- Snapseed: Easy, simple, and powerful. It’s like magic in your pocket.
- PicsArt: Ideal for adding glitter, confetti, or crazy effects.
- Canva: Great for designing birthday cards, adding text, and making collages.
- VSCO: If you want that trendy, Instagram-worthy vibe.
Each app has its strengths. Experiment, mix, and match to see what works best for you.
Step 2: Fixing the Basics First
Start simple. Brightness, contrast, and saturation are your best friends when it comes to birthday images editing. Ignore these, and no fancy filter will save that dull, lifeless photo.
Most popular apps like Snapseed, Adobe Lightroom, and even your phone’s built-in editor can handle this easily. Here’s how:
(i) Brightness: Fix Those Dark Corners
Dark photos? No problem.
In Snapseed:
- Open the app and tap the big “+” to upload your photo.
- Select “Tools” → “Tune Image”.
- Slide your finger up or down to find “Brightness”.
- Swipe right to brighten your image or left to darken it.
- Don’t overdo it! Too much brightness can make your photo look flat.
In Lightroom:
- Open your image, go to the “Light” tab, and adjust the “Exposure” slider.
- Brighten enough to reveal faces but keep some shadows for depth.
Focus on brightening faces and key details, not the entire image.
(ii) Contrast: Add Some Punch
A flat image feels lifeless. Adding contrast sharpens those details.
In Snapseed:
- Under “Tune Image”, find “Contrast”.
- Slide right to increase contrast, colors will pop, and shadows will deepen.
- For birthday images, keep it balanced, too much contrast can make faces look harsh.
In Lightroom:
- Go to the “Light” tab again and increase “Contrast”.
- Combine this with the “Shadows” slider to keep faces soft but backgrounds crisp.
Aim for bold but natural, your friend’s smile should stand out, not look like a sketch.
(iii) Saturation: Bring Those Colors to Life
Ever seen a birthday cake that looks beige instead of bright? That’s where saturation saves the day.
In Snapseed:
- Under “Tune Image”, find “Saturation”.
- Swipe right to boost colors, cakes get brighter, balloons pop, and streamers shine.
In Lightroom:
- Use the “Color” tab and increase “Vibrance” for a balanced pop of color.
- If your reds, blues, or yellows need special attention, the “Mix” tool lets you adjust individual colors without messing up the whole picture.
Use Vibrance instead of Saturation in Lightroom for a more natural color boost.
Step 3: Remove Those Unwanted Guests
You know the feeling, you snap the perfect birthday shot, and then… There’s that one random guy in the background, grinning like he’s part of the friend group. Annoying, right?
The good news is you don’t need magic to fix it, just the right tool. Most birthday image editing apps come with a “heal” or “remove” feature that makes unwanted guests vanish like they never existed.

(i) Snapseed (Fast and Free)
Snapseed’s Healing Tool is simple yet powerful. Here’s how to use it:
- Open Snapseed and tap the “+” to upload your photo.
- Go to “Tools” → Select “Healing”.
- Zoom in on the unwanted guest or object by pinching the screen.
- Using your finger, carefully brush over the unwanted person (or thing).
- Snapseed will automatically blend the background to fill the gap.
If the result looks smudged, undo it and try zooming in further. Precision is key!
(ii) TouchRetouch (Best for Detailed Fixes)
For stubborn photobombers or cluttered backgrounds, TouchRetouch is a lifesaver.
- Open the app and upload your photo.
- Select the “Object Removal” tool.
- Brush directly over the unwanted person or object.
- Hit “Go”, and watch the magic happen!
Use the “Line Removal” tool for things like wires, poles, or thin objects.
(iii) Photoshop (For Advanced Editing)
If you’re feeling fancy or working on something extra special, Photoshop offers precise control.
- Open your image and select the “Spot Healing Brush” tool.
- Adjust the brush size to fit the unwanted object.
- Click or drag over the distraction, Photoshop will automatically replace it with background details.
Using the “Clone Stamp Tool” in Photoshop’s auto-fix isn’t perfect. It lets you copy and paste background details for flawless blending.
Step 4: Add Some Birthday Magic
Now comes the fun part, adding that festive flair! This is where you transform your edited photo from “Nice” to “Wow, this looks AMAZING!”
(i) Using PicsArt (Fast & Fun)
PicsArt is perfect for this. It’s packed with birthday-themed stickers, effects, and overlays. Here’s how to use it:
- Open PicsArt and tap the “+” to upload your photo.
- Go to “Stickers” and type “Birthday” in the search bar.
- Choose from balloons, confetti, party hats, and even sparkles.
- Tap on a sticker, resize it, and place it wherever you want.
- For a magical glow effect, head to “Effects” and add a sparkle filter like “Glitter” or “Magic Glow”.
Don’t go overboard! Too many stickers can make your photo look chaotic. Aim for 3-4 key elements to keep it festive yet clean.
(ii) Canva (Best for Text & Graphics)
Canva’s drag-and-drop interface is perfect for adding text, frames, and custom designs.
- Open Canva and start with a “Photo Editing” template.
- Upload your birthday photo.
- Add colorful text overlays like “Happy Birthday!” using bold, party-themed fonts.
- Use Canva’s “Elements” tab to insert fun shapes like confetti bursts, fireworks, or colorful ribbons.
Try the “Glow” text effect in neon colors for that extra pop!
(iii) Adobe Express (For Stunning Visuals)
Adobe Express offers professional-level effects with minimal effort.
- Upload your image and choose the “Add Effects” option.
- Add animated sparkles, glowing stars, or even falling confetti to create a lively feel.
- Use the “Text Animation” tool to create moving captions like “Best Birthday Ever!”
Adobe Express’s “Background Blur” effect can help your decorations stand out even more.
Step 5: Add Text that Pops
No birthday edit feels complete without a fun, memorable message. It’s the cherry on top, that final touch that makes your photo truly stand out.

(i) Using Canva (Quick & Creative)
Canva makes text editing ridiculously simple, even if design isn’t your thing.
- Open Canva and select your edited birthday photo.
- Tap on “Text” and choose from templates like “Happy Birthday!”, “Party Time!”, or create your own.
- Pick a bold, playful font, think bubbly, handwritten, or chalk-style.
- Select bright, festive colors that match your photo’s vibe.
- Drag and position the text near the cake, balloons, or wherever it fits naturally.
Add a subtle glow effect to make your text pop without overpowering the photo.
(ii) Using PicsArt (For Funky Effects)
PicsArt has vibrant text options with cool effects that scream “Party Time!”
- Open your photo in PicsArt.
- Tap “Text” and type your message.
- Choose effects like neon glow, sparkle, or shadow to make the text stand out.
- Use the “Curve” tool to arch your text over a cake, balloon, or birthday hat for that extra fun vibe.
Add a small birthday cake emoji 🍰 or party popper 🎉 next to the text for playful energy.
(iii) Using Adobe Express (For Clean, Classy Text)
If you want a sleek, professional look, Adobe Express is your best bet.
- Upload your photo and click on “Text”.
- Choose a clean, modern font, perfect for elegant captions like “Cheers to 30 Years!”.
- Add a drop shadow for depth or a stroke effect for a bold outline.
- Stick to 2-3 words for maximum impact.
✅ Pro Tip: If your background is busy, add a transparent text box behind your words to improve readability.
Step 6: Filters: Your Secret Weapon
Filters are like seasoning for your birthday images, the right one can make your photo unforgettable. One tap, and boom! Suddenly, your cake glows golden, your balloons pop with color, and that awkward lighting? Gone.
(i) Using VSCO (For Artsy, Instagram-Worthy Vibes)
VSCO is a goldmine for filters that add warmth, depth, and character.
- Open your birthday photo in VSCO.
- Browse filter packs like M5 (warm, vintage feel) or C1 (bright and vibrant).
- Adjust the intensity, dial it down to around 30-50% for a natural look.
- Add a touch of grain for a cozy, nostalgic effect, perfect for old birthday memories.
Use the “Skin Tone” slider to balance uneven lighting on faces.
(ii) Using Lightroom (For Professional-Level Results)
Lightroom offers precise filter adjustments for total control.
- Import your photo and select Presets (these are just fancy filters with more customization).
- Try “Bright & Airy” for soft daylight vibes or “Golden Hour” for a warm sunset glow.
- For party shots, boost the Vibrance to make confetti and decorations pop.
- Use the Radial Filter tool to highlight the birthday cake, giving it a spotlight effect.
Lightroom’s “Dehaze” tool is magic for clearing up foggy or dimly lit photos.
(iii) Using Snapseed (For Quick Fixes & Balanced Tones)
Snapseed’s filters are simple yet powerful.
- Open your photo and tap on “Looks” (Snapseed’s filter section).
- For warm vibes, try “Pop” or “Morning”.
- For sharper, cleaner shots, use “Fine Art” or “Portrait”.
- Adjust the Ambiance slider to fine-tune brightness and color balance in one go.
Use the “Selective” tool to brighten specific areas, like making candles glow brighter without overexposing the whole picture.
Step 7: Frame It Like a Pro
Frames are like picture frames in your living room, they make your photo pop while giving it a clean finish.
Canva makes this super easy.
- Open Canva and upload your photo.
- Head to the “Elements” tab and search for “Birthday Frame”.
- Choose designs that match your vibe, glittery gold, colorful confetti, or even a sleek pastel outline.
- Resize the frame to hug your photo just right.
Avoid thick, overpowering frames, they can steal the spotlight from your photo.
Step 8: Don’t Overdo It
Editing can be addictive. One sticker leads to ten, one filter becomes five… and suddenly your photo looks like a chaotic carnival.
Golden Rule: Less is more.
Stick to:
- One
- One or two stickers
- Simple text (if needed)
Imagine your photo as a birthday cake. Add too much frosting, and you’ll drown the flavor. Keep it clean, sharp, and vibrant.
Step 9: Save in High Quality
After all your hard work, don’t let your masterpiece get pixelated.
- In Canva, click Download, then select PNG or JPG at 100% quality.
- In VSCO, go to settings and enable “High-Resolution Exports”.
- In Snapseed, export using the “Highest Quality” option.
Saving in HD keeps colors rich, faces clear, and details sharp, especially when posting to Instagram or printing.
Step 10: Share with a Bang
You didn’t just create a photo, you crafted a masterpiece. Time to show it off!
Write a catchy caption like:
- “Happiest Birthday to the Queen of Cake and Chaos!”
- “30 never looked this good!”
And if you’re feeling bold, tag your friend and say, “You better frame this one!”
Now sit back, relax, and watch the likes roll in. Because you didn’t just edit a photo… you gave a memory the glow-up it deserved. 🌟
Final Thought: Bring Joy, Not Just Pixels
Mastering birthday images editing doesn’t require expensive software or professional skills. With the right tools like Snapseed, Lightroom, or PicsArt, you can transform dull photos into vibrant memories. Whether you’re fixing lighting, adding text, or enhancing colors, small tweaks can make a big difference. For those special birthday moments, taking the time to edit can ensure your photos truly shine. So, don’t let bad lighting or unexpected photobombs ruin your shots, embrace the power of birthday images editing and create stunning visuals that capture the joy of the day. Your Instagram feed will thank you!